Now that sand-blasting has simplified rust- and paint-removal, I thought it would be nice to tackle one of the nicer train cars waiting for restoration; the Lionel 817 caboose. It always looked a bit crappy with its fainted colours and rust spots. Especially the dark green roof was severely scratched and the brass had a bit too much patina. So time to bring it back to former glory.
 |
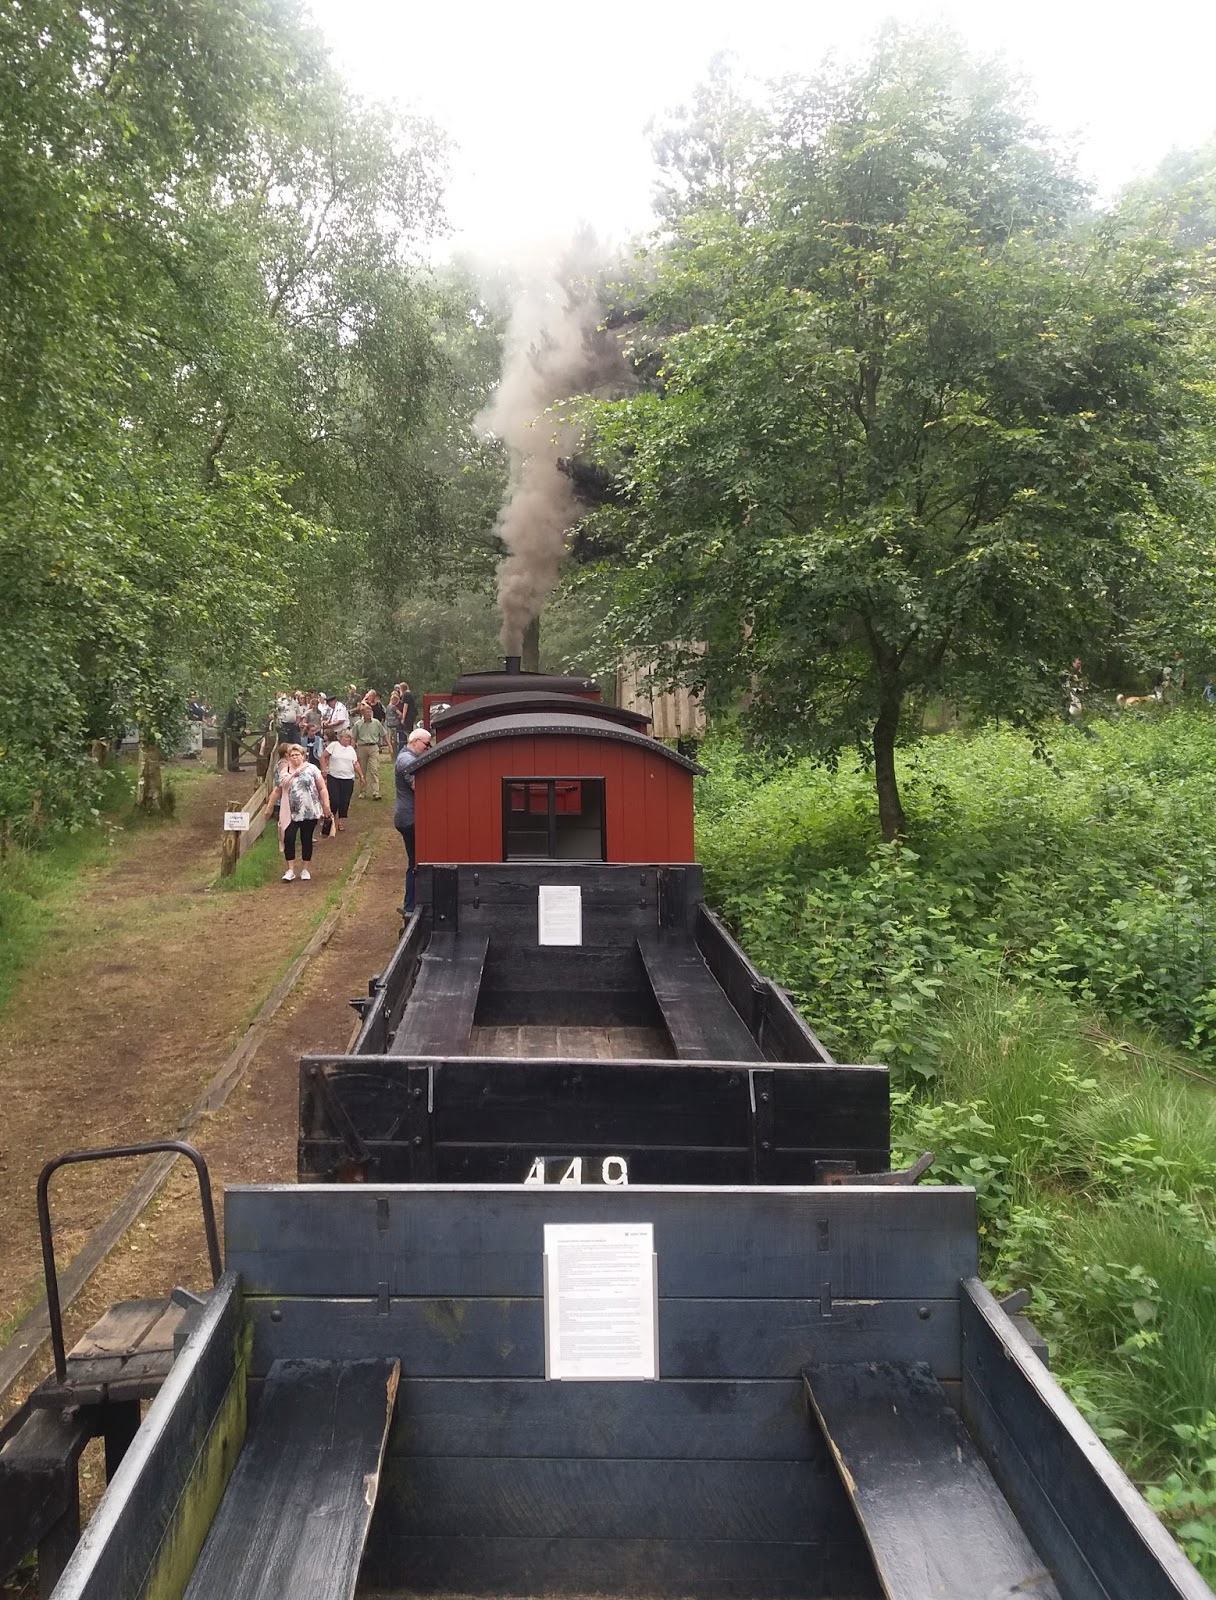
| Lionel 817 as received |

The bottom plate has a by-gone label with lubrication instructions. I think this is the last time we get to see it.

 |
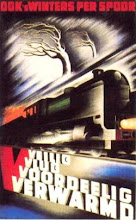
| Lubrication instructions |
Once the bogies are removed, the six tabs that fasten the main body to the bottom plate can be straightened as well as the four brass tabs securing the brass side panels to the bottom plate. Then the whole thing comes apart.
Then the further the disassembly is simple. The metal parts are cleaned (dedusted) and sand-blasted. Here you can see what a few seconds of glass pearls has done to the top. See, the before and after, below.

Then the rest follows quickly. Also the wheels, axles and latch couplers benefited from a quick blast of glass pearls. And after a few hours all parts shone. The paint disappeared fast and simple from the flat pieces, but it took more time to remove the paint around the window ridges and rivets.


So, the brass was polished first with a brass brush on a Dremel-type tool followed by the polishing disc with metal polish and cleaning with white spirit. All painted objects were first primed. Dark green and black glossy rattle cans were about and the "Peacock Green" had to be purchased from the local hardware store, where we argued to either use RAL6033 or what is "Peacock Green" according to the local paint producer. Personally, I found RAL6033 a bit dull and this colour much brighter, so I followed the company's recommendation.

The reassembly was straightforward. I added a third rail pick-up roller to one of the bogies to enable lightning. That pick-up assembly was purchased a few years ago at the late shop of George Tebolt.

After the light was checked, the roof was snapped on, and the caboose was ready. Ain't she gorgeous.


Time to take it for a run around the tracks.